In these pictures I was messing around with different lighting and slightly different camera angles. I took these pictures of the inked up plates. I love the way the flash slightly changed the colors and made them look slightly metallic.
Thursday, 26 January 2012
"Mini" Project
Yes, thats right...we were given a "mini" project to work on also! This time the project was on Clutter. Luckily for me I was able to link this project with my main one because though I hate to admit it there are times I have alot of clutter in the back of my car! So my prints are based on the clutter that was in my car on that day.
Once again I experimented with color. This time the colors I used are darker. Tones of brown, sepia, and blue/black. I also layered colors on-top of each other with I feel gives my prints more depth.
In the layout of the prints I have experimented with different compositions in the placing of my prints on the white paper.
In some of my prints I decided to scratch quite heavily into the plates. This caused the ink to appear much darker and heavier in my final prints.
Monday, 23 January 2012
Colored prints using a combination of monoprint and drypoint.
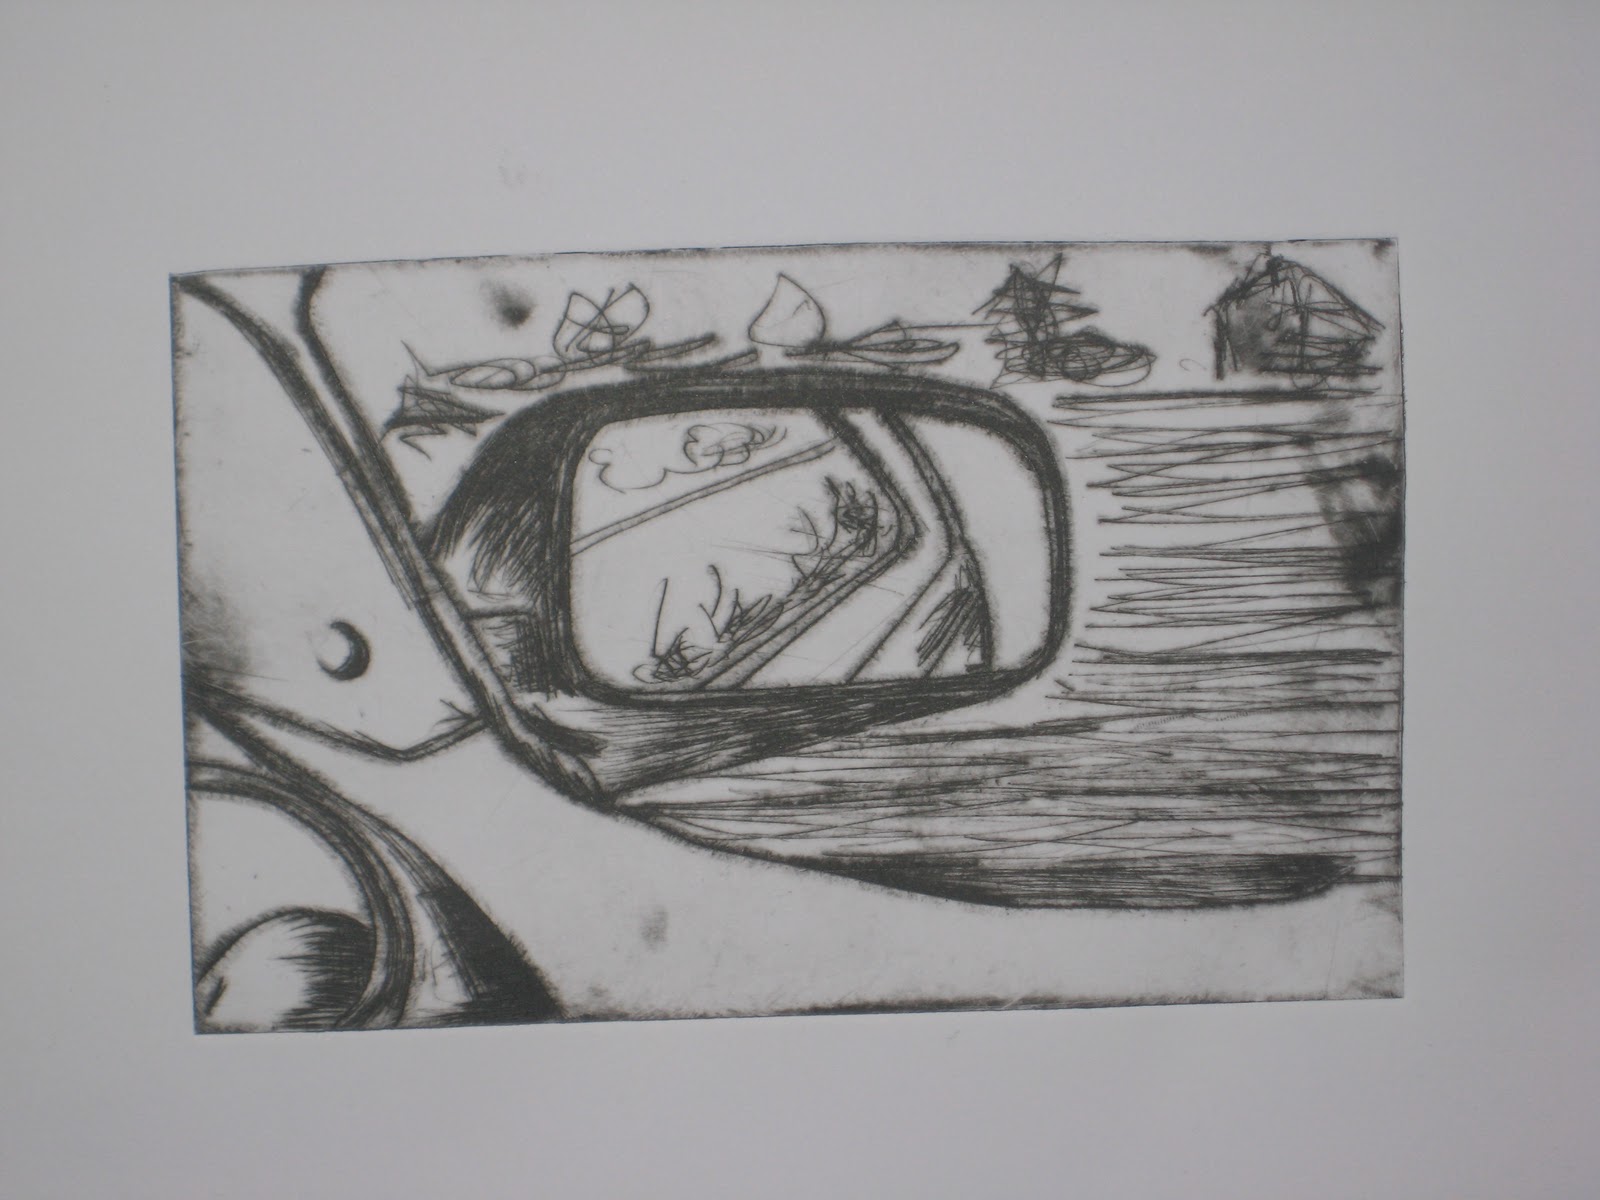
Here is the start of my prints..I used a process called drypoint. Drypoint is a printing process where I scratched into the plate, inked the plate..and then removed the excess ink with a textured cloth called "scrim." Initally I wanted to keep my prints black and white but then I decided to experiment with color using similar colors to those of the sky in my photographs in my previous post. To add color to my prints I first made a monoprint in which i inked up the plate, and using a cloth I wiped away any ink I did not want on the plate. Its as simple as that!
Here is the black ink and the rubber i used to rub ink on the plate.
Textured cloth called "scrim." This is used to remove excess ink off the plate.
Subscribe to:
Posts (Atom)
